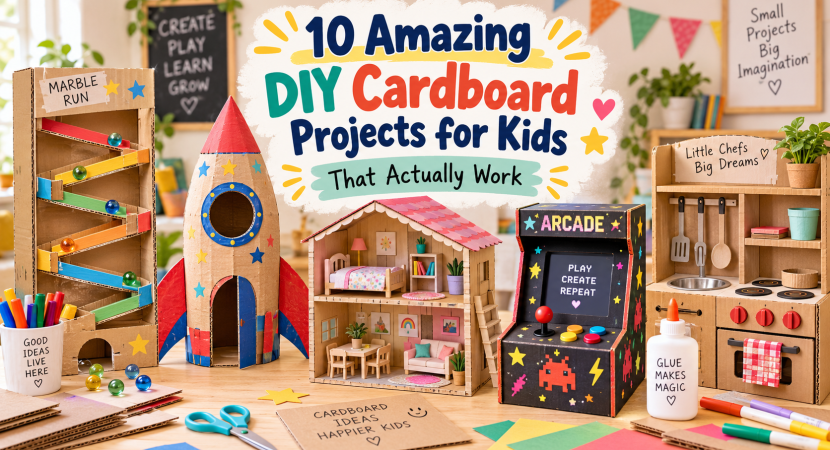
Cardboard is one of the easiest and most versatile materials for kids’ crafts. It is inexpensive, easy to cut and decorate, and can be transformed into toys that children can actually play with after making them.
Instead of throwing away delivery boxes, cereal boxes, and packaging cartons, you can turn them into creative DIY projects that encourage imagination, problem-solving, and hands-on learning.
These DIY cardboard projects for kids are perfect for weekends, school holidays, rainy days, or whenever you need a fun screen-free activity at home.
Why Cardboard Crafts Are Great for Kids
Cardboard crafts are more than just a way to keep children busy. They encourage creativity while helping kids learn how everyday materials can be reused instead of thrown away.
Making cardboard toys can also help children practice:
- Fine motor skills
- Cutting and gluing
- Problem-solving
- Creative thinking
- Building and construction
- Imaginative play
- Recycling and sustainability
Most importantly, the finished projects become toys that kids can continue enjoying long after craft time is over.
1. DIY Cardboard Marble Run
A cardboard marble run is one of the most entertaining DIY projects for kids because children can build it, test it, and redesign it again and again.
What You’ll Need
- Large cardboard sheet or box
- Cardboard strips or paper tubes
- Glue or tape
- Scissors
- Marbles or small balls
How to Make It
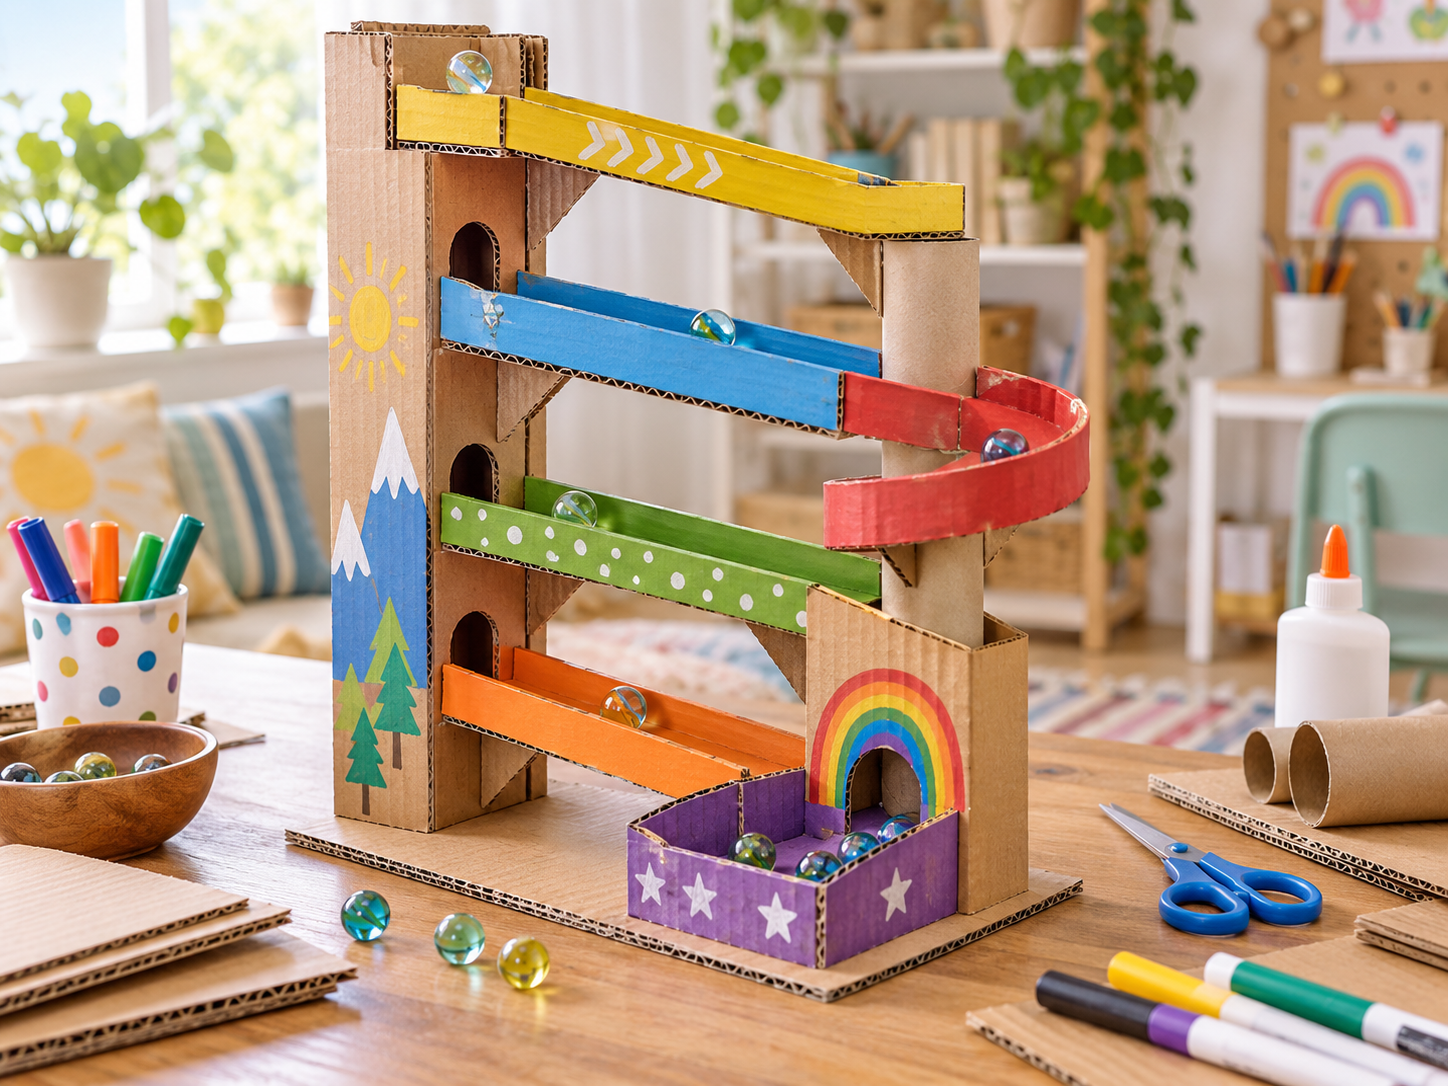
Place a large piece of cardboard vertically against a wall or inside an open cardboard box.
Cut strips of cardboard and fold their edges upward to create small tracks. Attach the tracks at different angles so that a marble can roll from one section to another.
You can also use toilet-paper tubes as tunnels.
Once the track is complete, drop a marble from the top and see whether it reaches the bottom.
Kids can experiment by changing the angles, adding tunnels, or creating obstacles.
2. Mini Cardboard Vending Machine
Kids love pretend shops, so a mini cardboard vending machine can become a favorite homemade toy.
What You’ll Need
- Medium cardboard box
- Small cardboard pieces
- Plastic cups or paper compartments
- Glue
- Scissors or craft knife
- Markers
- Small toys, snacks, or pretend products
How to Make It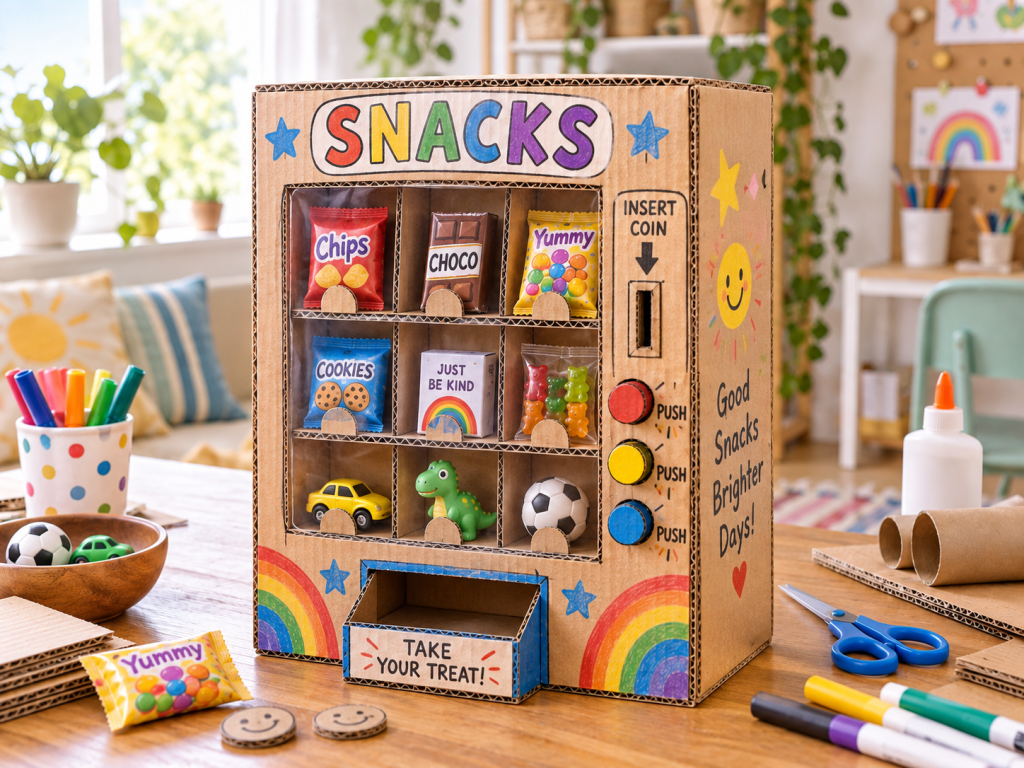
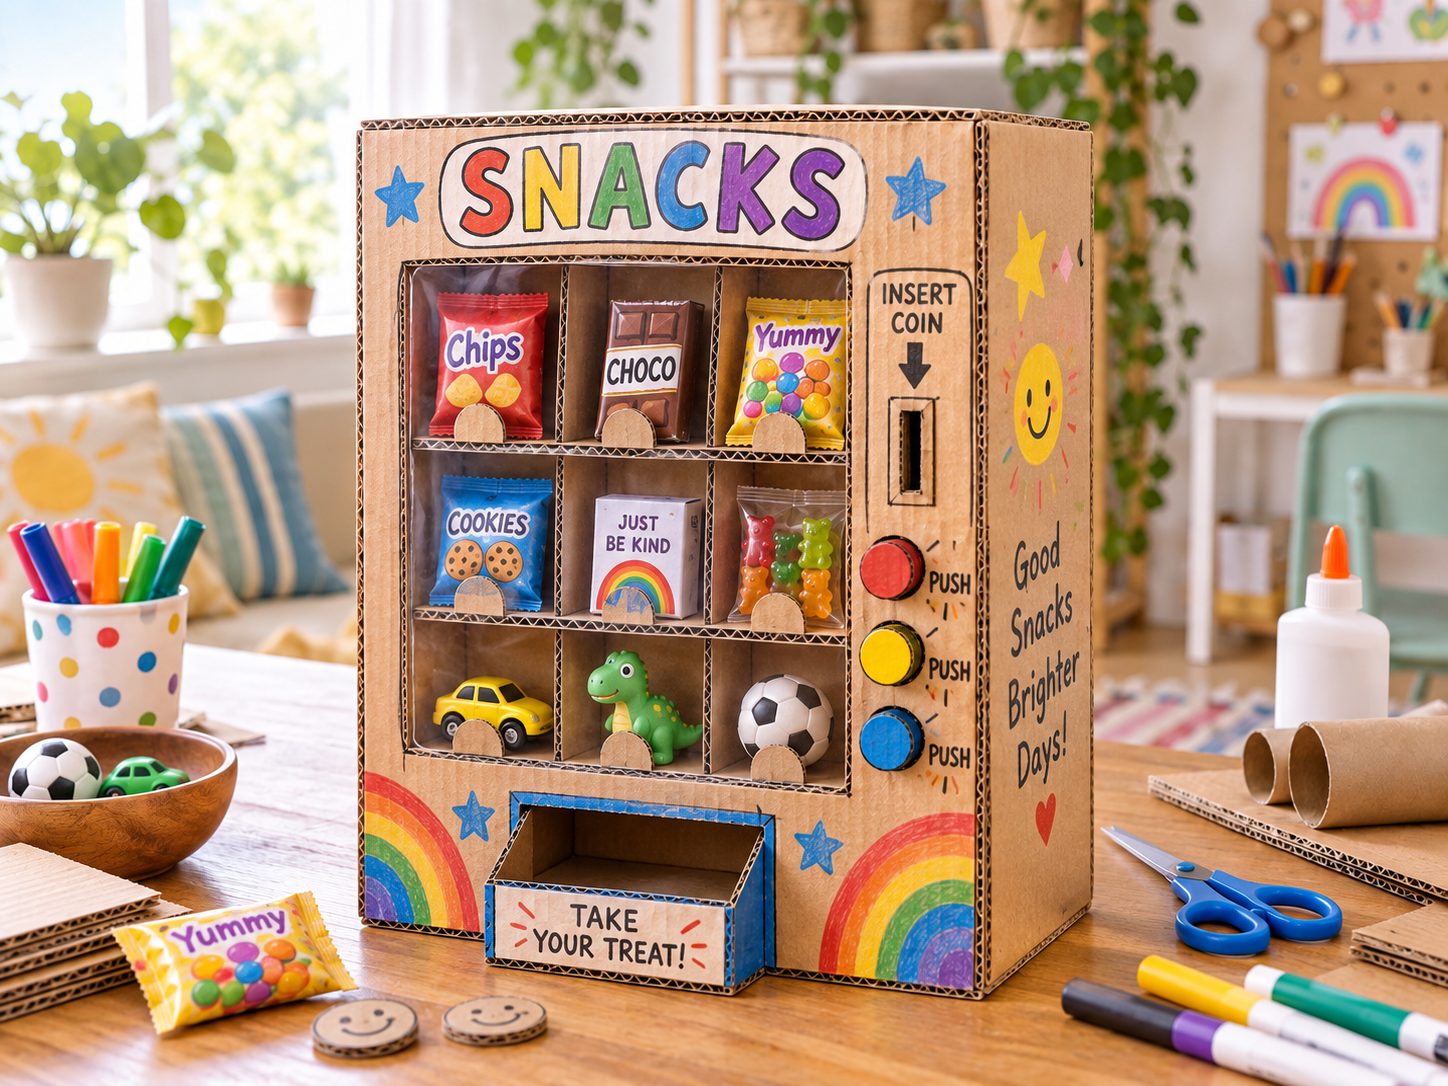
Cut a rectangular display window on the front of the cardboard box.
Inside the box, create small shelves or compartments for pretend snacks and toys.
Add simple cardboard buttons to the front and create a small opening at the bottom where the selected product can appear.
Children can decorate the vending machine with product labels, numbers, and colorful designs.
For younger children, keep the mechanism simple and let them manually place an item into the collection slot.
3. Cardboard Dollhouse
A homemade cardboard dollhouse can be customized in endless ways.
Kids can design bedrooms, kitchens, living rooms, gardens, and even tiny furniture.
What You’ll Need
- Large cardboard box
- Small cardboard pieces
- Glue
- Colored paper
- Paint or markers
- Fabric scraps
- Small toys or dolls
How to Make It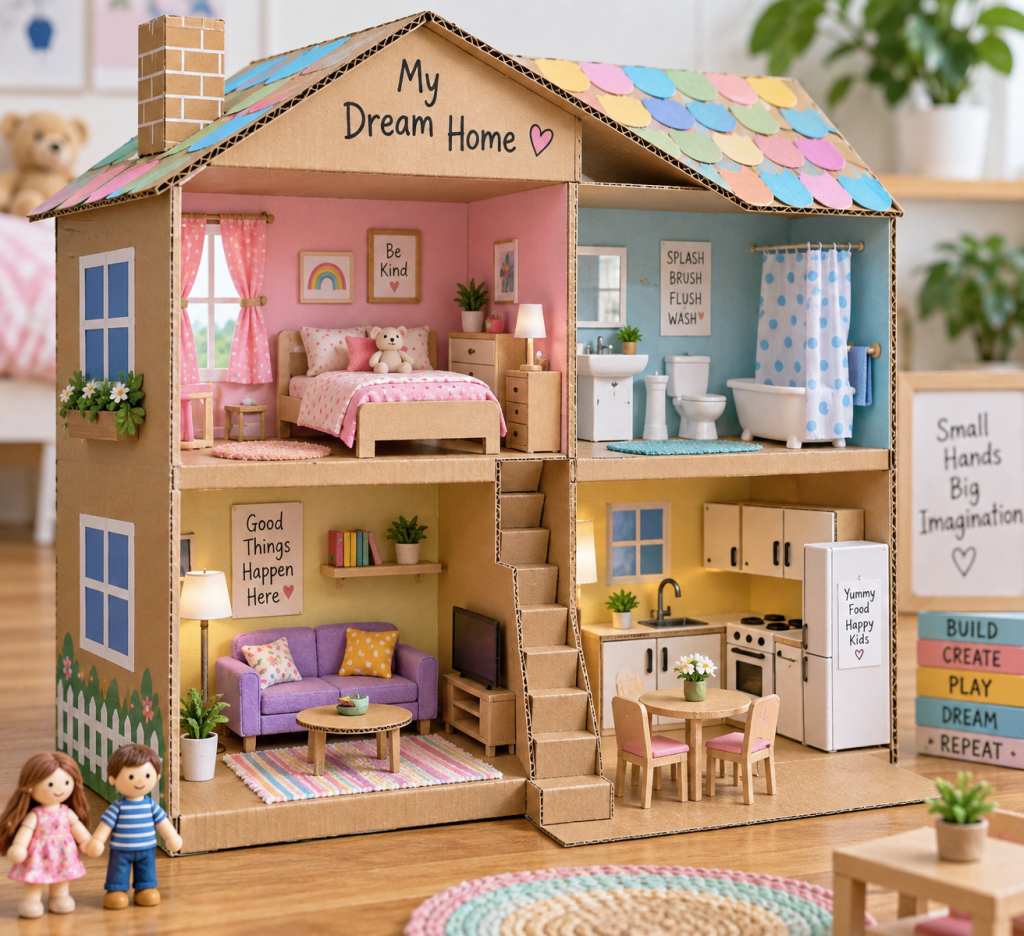
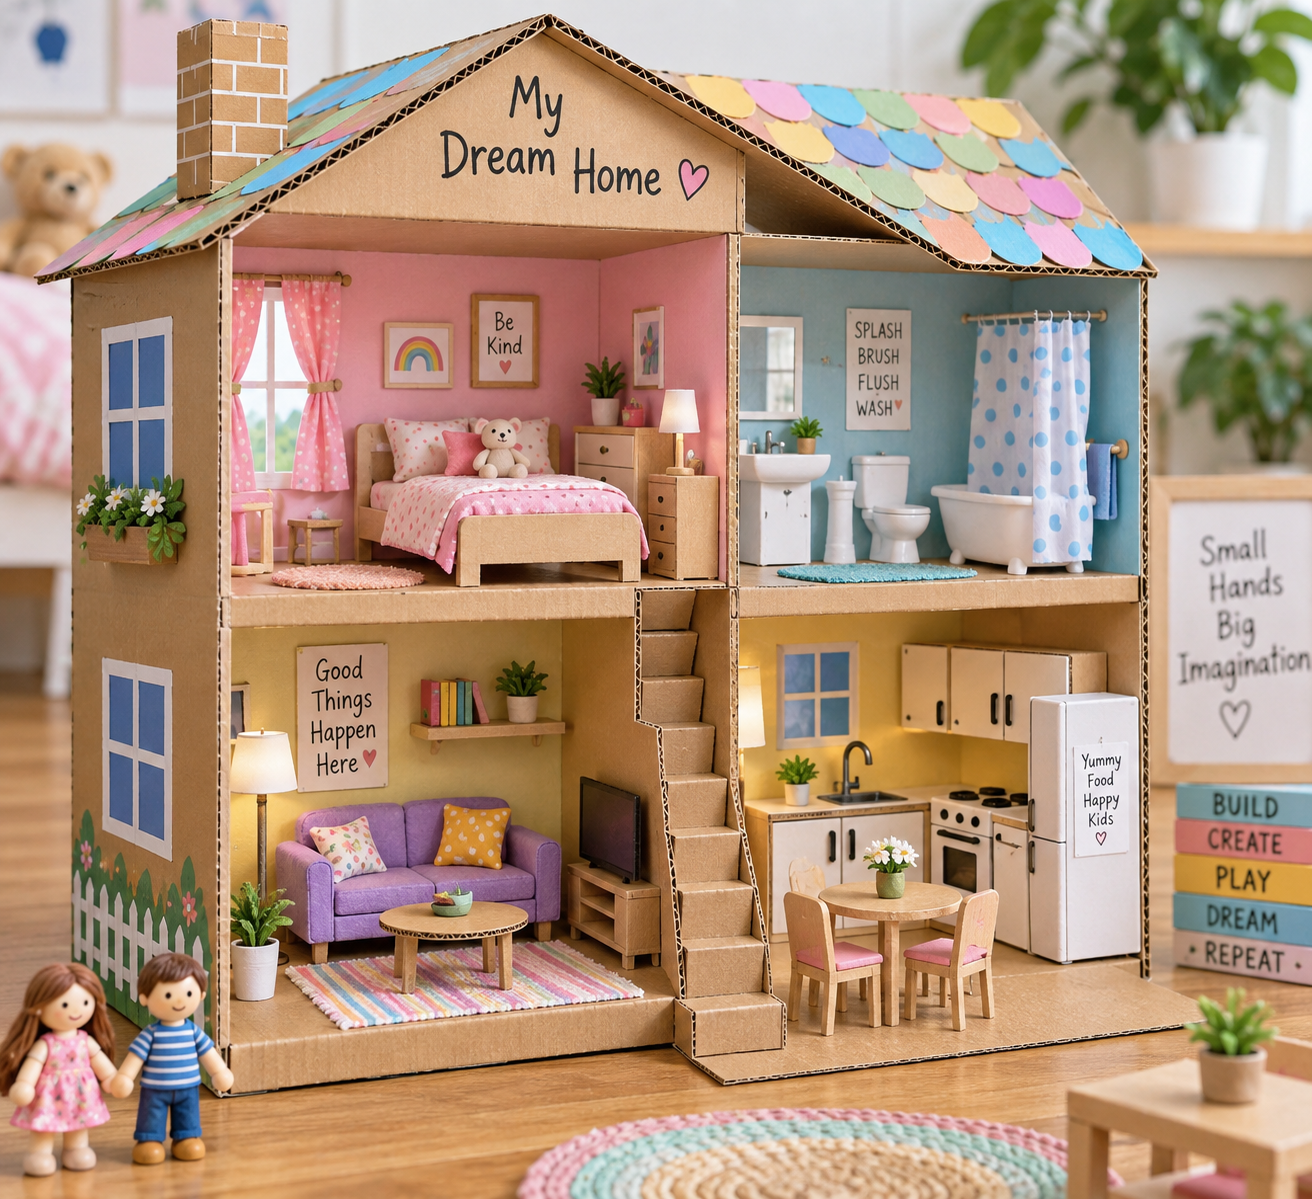
Turn a large cardboard box on its side.
Use flat pieces of cardboard to create floors and room dividers.
Cut windows and doors into the walls.
Children can decorate each room using colored paper as wallpaper and fabric scraps as rugs or curtains.
Small boxes can become beds, sofas, tables, and cabinets.
The fun part is that the dollhouse can keep changing as kids create new furniture and decorations.
4. Cardboard Rocket Spaceship
Turn an ordinary cardboard box into a spaceship ready to explore imaginary planets.
This project is especially fun for children who love space, rockets, and science-fiction adventures.
What You’ll Need
- Large cardboard box
- Extra cardboard
- Paint
- Markers
- Aluminum foil
- Glue
- Paper plates or bottle caps
How to Make It
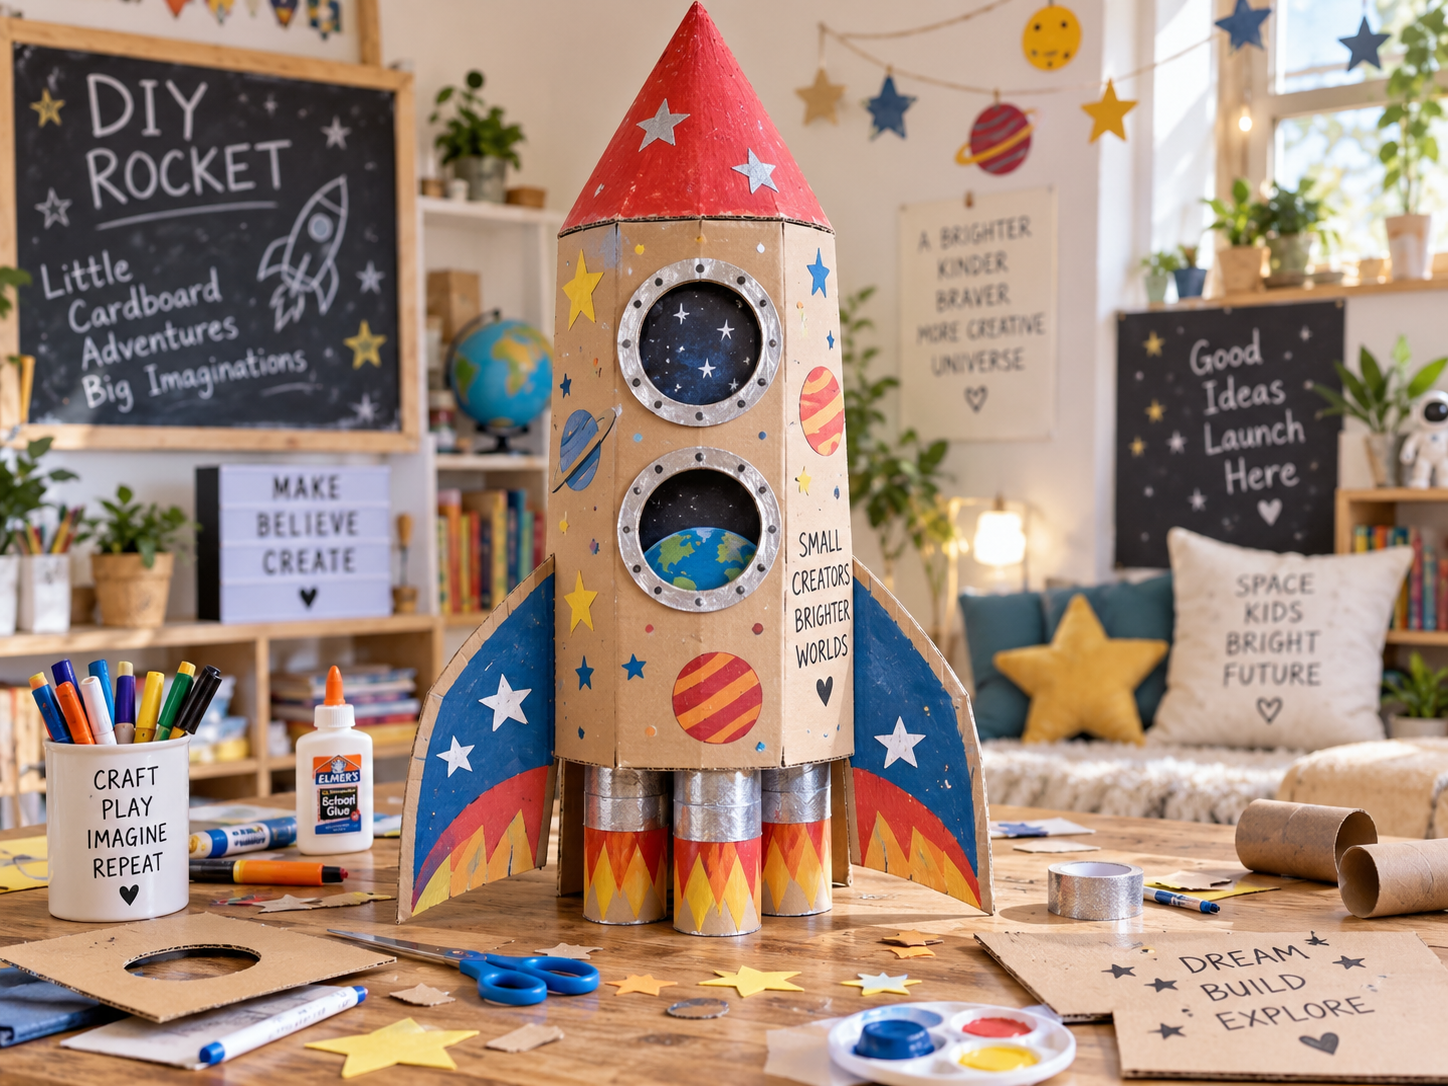
Use a large cardboard box as the main body of the rocket.
Cut out a door and a few round windows.
Create a pointed rocket top using folded cardboard and add cardboard wings near the bottom.
Inside the rocket, children can create a pretend control panel using bottle caps, paper plates, buttons, and drawings.
Decorate the outside with stars, planets, flames, and space-themed designs.
Once finished, kids can climb inside and begin their imaginary journey through space.
5. Mini Cardboard Puppet Theater
A cardboard puppet theater is a wonderful way to combine crafting with storytelling.
Children can make the theater first and then create their own puppet shows.
What You’ll Need
- Large cardboard box
- Scissors
- Paint
- Fabric
- Glue
- Wooden sticks
- Paper or cardboard for puppets
How to Make It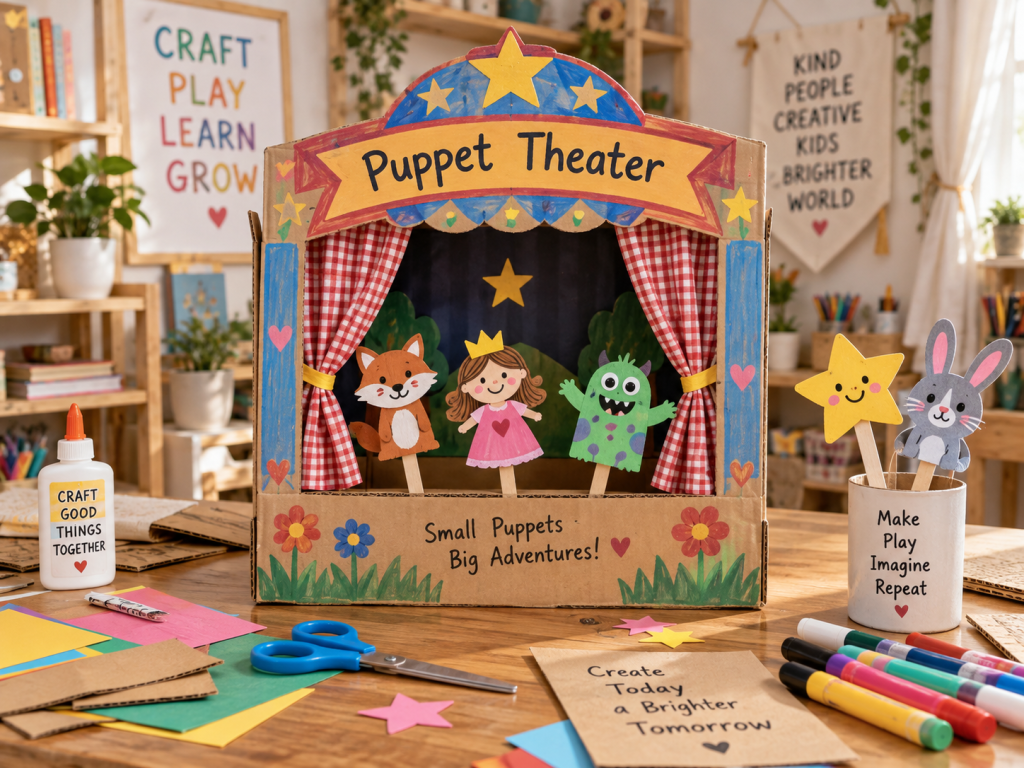
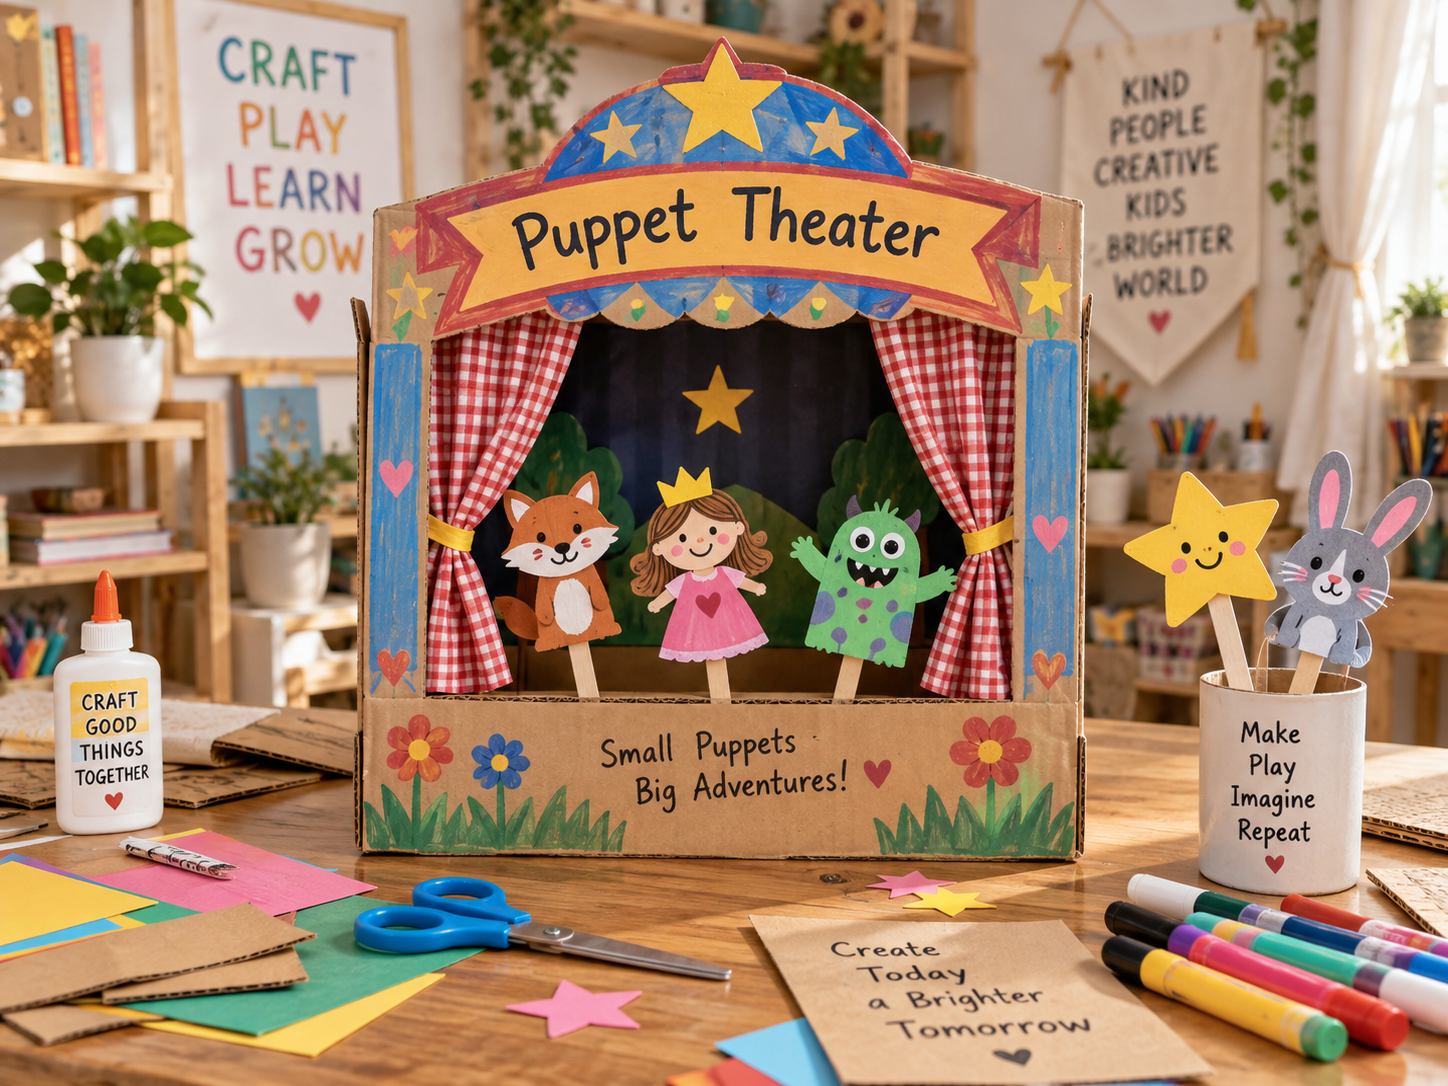
Cut a large rectangular opening into the front of a cardboard box.
This will become the stage.
Glue small pieces of fabric on both sides to create theater curtains.
Decorate the outside of the theater with stars, patterns, or the name of your child’s pretend theater.
Children can draw characters on cardboard, cut them out, and attach them to wooden craft sticks.
Now they can create stories, performances, and even their own mini plays.
6. DIY Cardboard Parking Garage
Kids who love toy cars will have plenty of fun with a homemade cardboard parking garage.
What You’ll Need
- Cardboard boxes
- Cardboard sheets
- Paper tubes
- Glue
- Markers
- Toy cars
How to Make It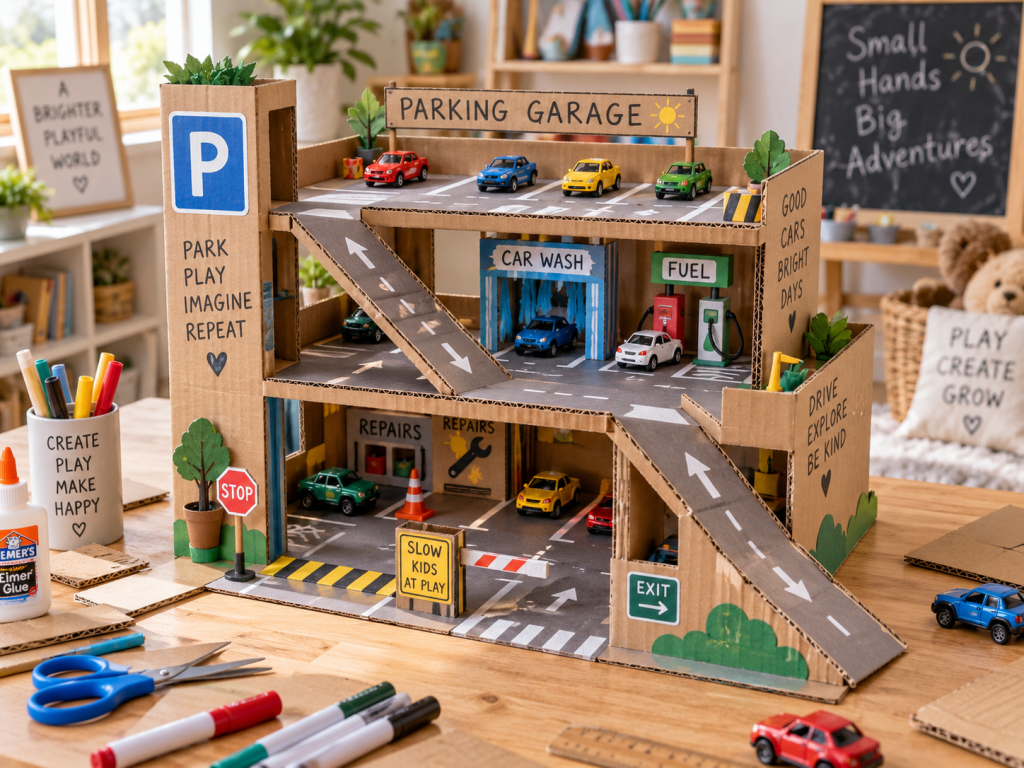
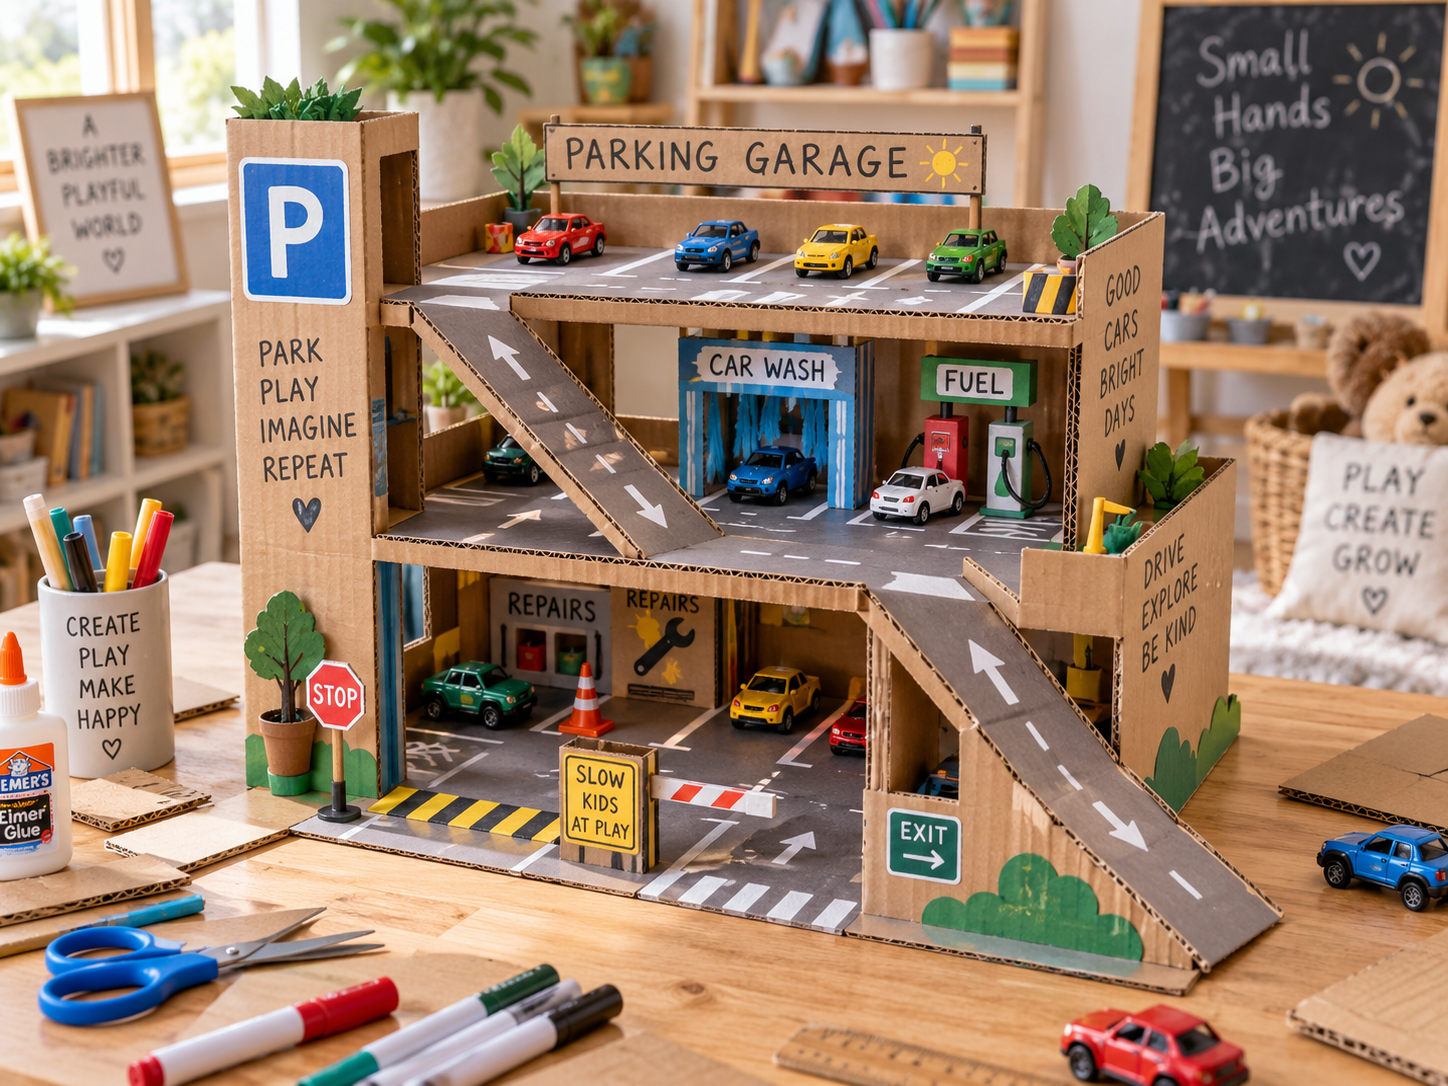
Use a sturdy cardboard box as the base.
Add another piece of cardboard above it to create a second parking level.
Use folded cardboard strips or paper tubes to support the upper floor.
Create a ramp between the two levels.
Draw parking spaces, arrows, road markings, and entrance signs.
You can also add a car wash, petrol station, or repair area.
Children can expand the garage later by adding additional levels or roads.
7. Cardboard Maze Game
A cardboard maze is a simple DIY game that combines crafting with problem-solving.
What You’ll Need
- Flat cardboard box lid
- Cardboard strips
- Glue
- Small ball or marble
- Markers
How to Make It
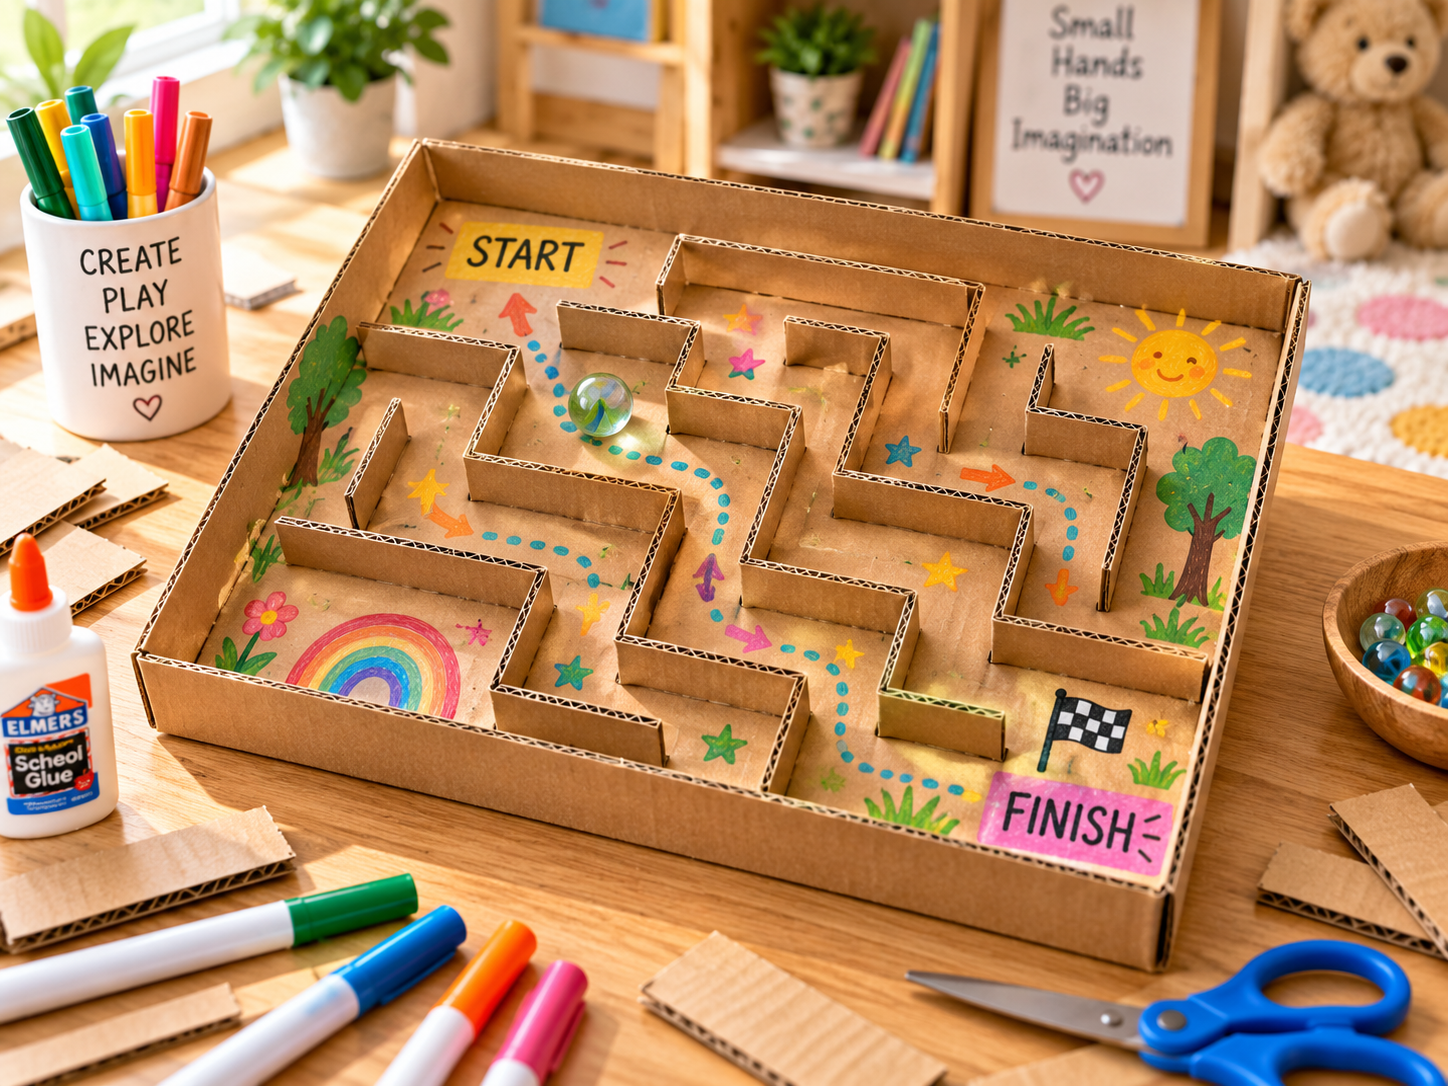
Use a shallow cardboard box or box lid as the base.
Cut long strips of cardboard and glue them vertically onto the base to create maze walls.
Leave enough space between the walls for a marble or small ball to move.
Mark a starting point and finishing point.
Once the glue dries, children can tilt the box carefully and guide the ball through the maze.
To make the game more challenging, add dead ends, narrow pathways, and obstacles.
8. Mini Cardboard Kitchen
A cardboard kitchen can provide hours of imaginative play without requiring an expensive toy kitchen.
What You’ll Need
- Large cardboard box
- Small boxes
- Bottle caps
- Paper plates
- Paint
- Markers
- Glue
How to Make It
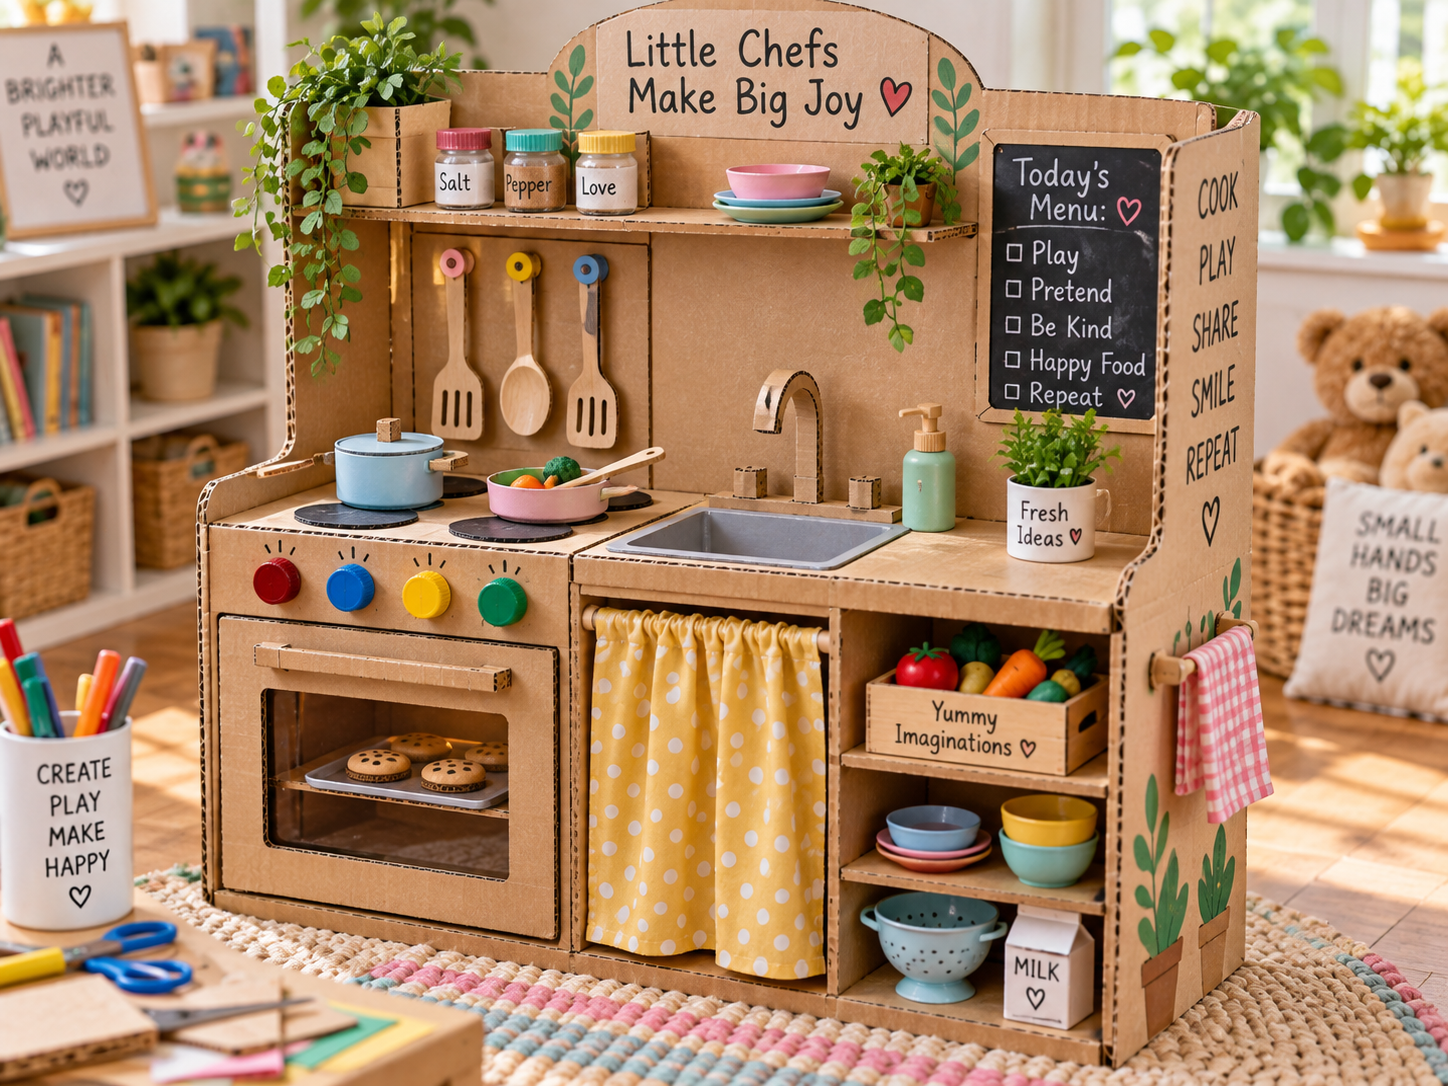
Use a sturdy cardboard box as the kitchen base.
Draw or create stove burners on the top using paper circles.
Attach bottle caps to the front as oven knobs.
Cut a rectangular oven door and attach it using strong tape so that it can open and close.
You can also create a sink using a small bowl and make a cardboard faucet.
Add shelves for pretend plates, cups, and toy food.
Children can even create cardboard pizzas, cupcakes, fruits, and vegetables for their kitchen.
9. DIY Cardboard Claw Machine
A homemade claw machine looks impressive and can become a fun carnival-style game.
For younger children, keep the design simple rather than trying to create a complicated mechanical claw.
What You’ll Need
- Large cardboard box
- Transparent plastic sheet
- Cardboard
- String
- Paper cup
- Tape
- Small toys or pom-poms
How to Make It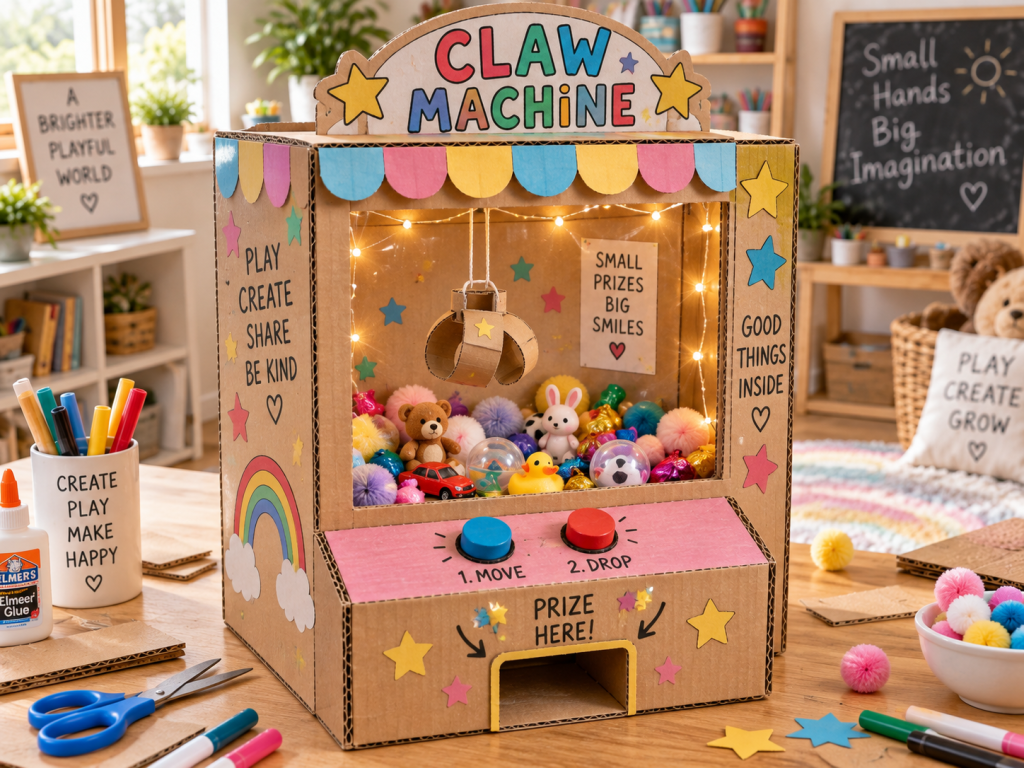
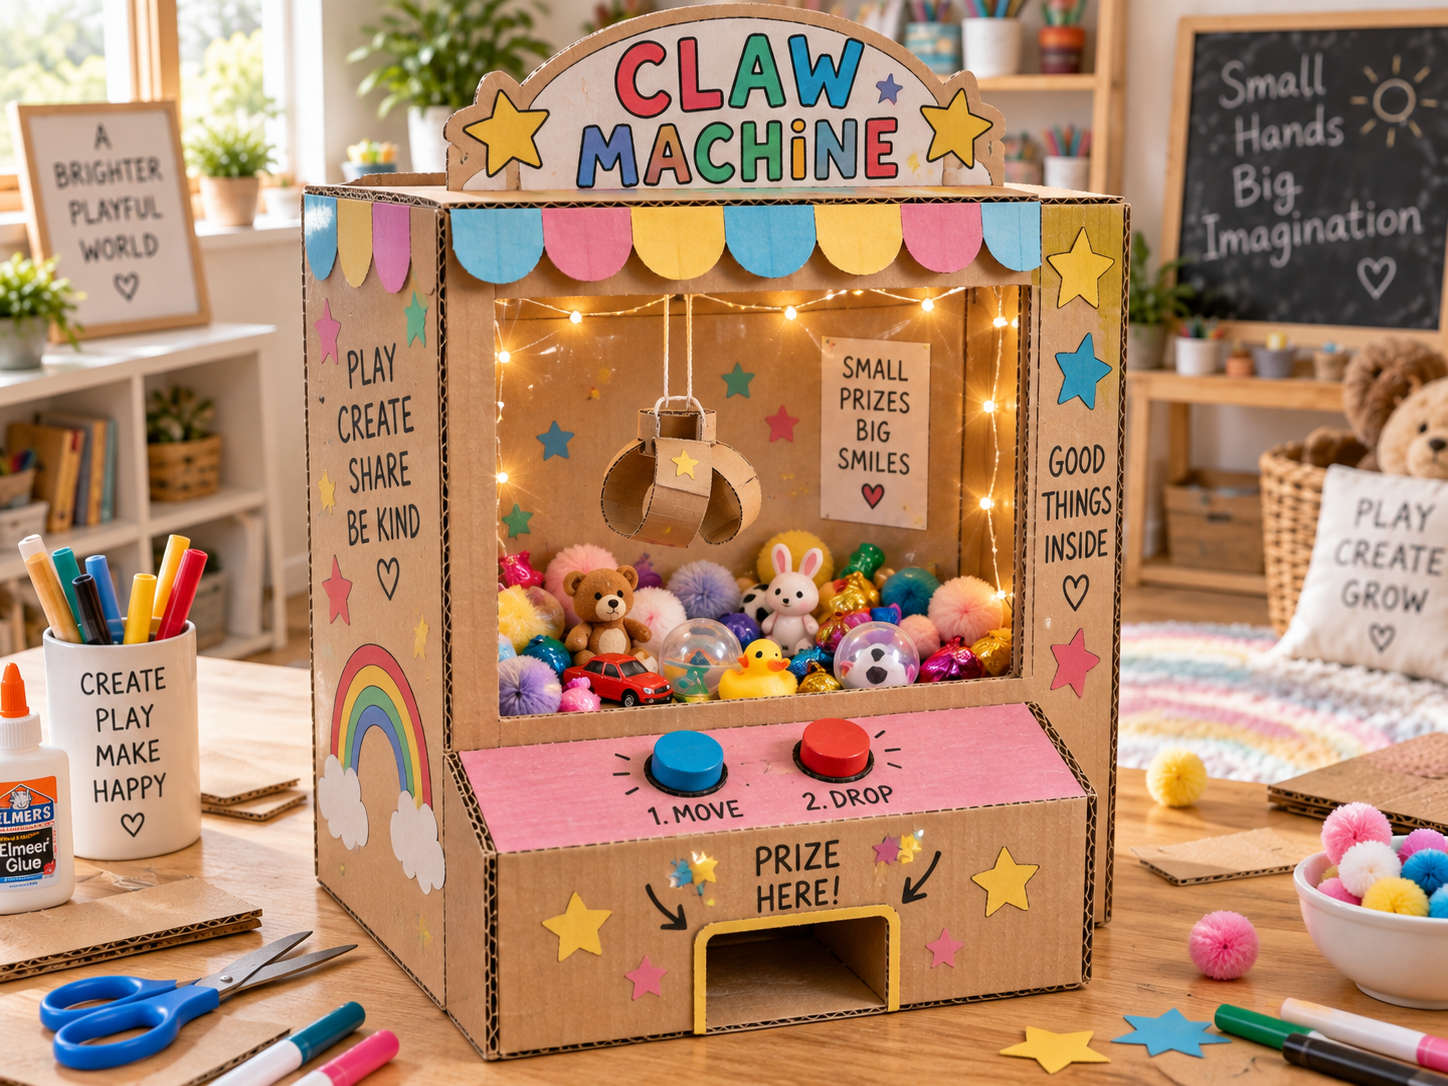
Cut a large viewing window into the front of the cardboard box.
Cover the window with a transparent plastic sheet if desired.
Fill the bottom of the machine with small lightweight toys, pom-poms, or wrapped treats.
Create a simple hanging catcher using string and a small paper cup.
Children can move the catcher around and try to pick up items.
Add pretend control buttons and a prize collection area at the bottom.
10. Cardboard Mini Arcade Machine
Bring the fun of an arcade home with a tiny cardboard arcade machine.
This project is great for older kids who enjoy designing their own games.
What You’ll Need
- Small cardboard box
- Cardboard
- Markers
- Bottle caps
- Colored paper
- Glue
How to Make It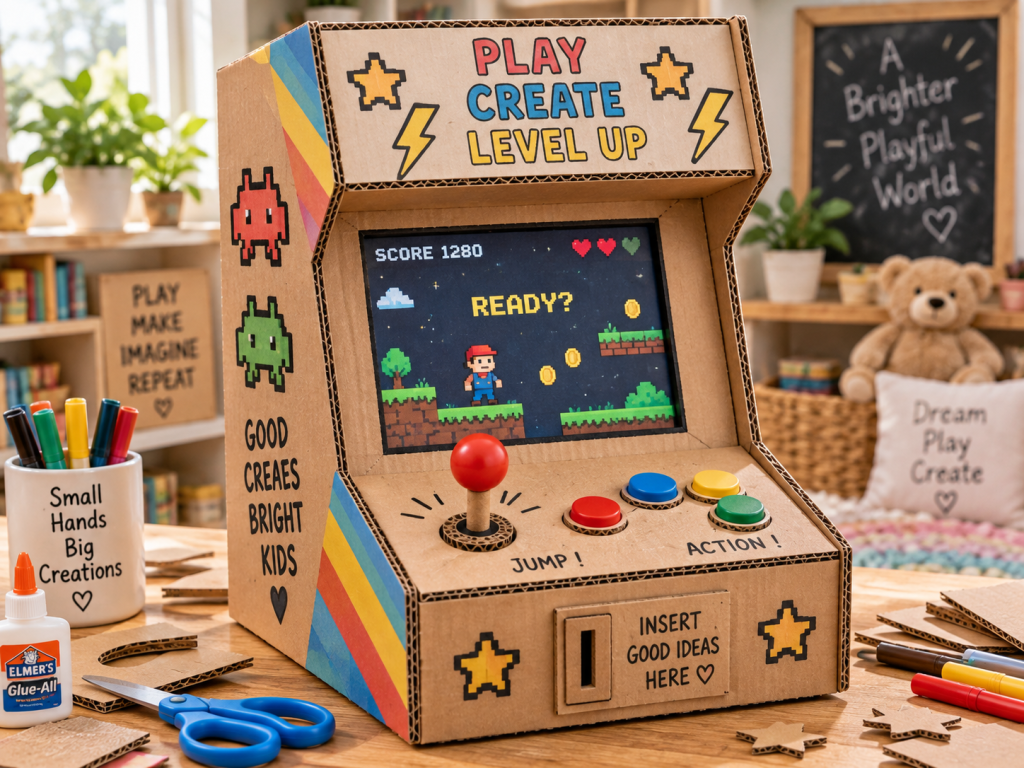
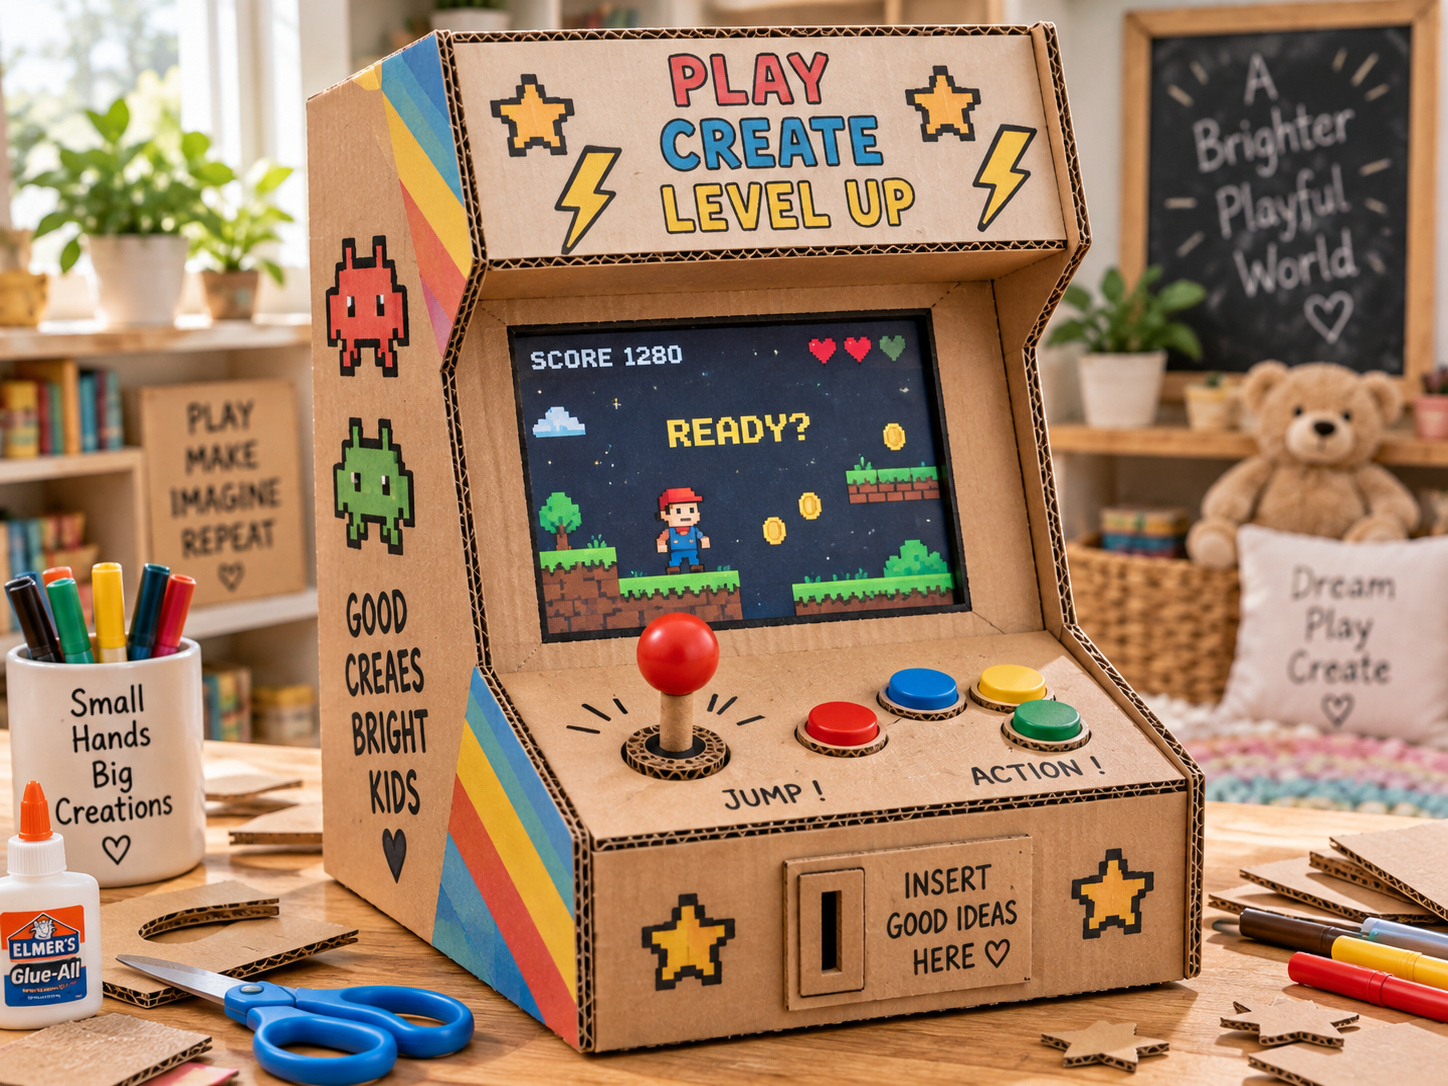
Stand a small cardboard box vertically.
Cut a rectangular section near the top for the pretend game screen.
Draw a colorful arcade game scene on paper and place it inside the screen area.
Create a small control panel underneath.
Bottle caps can become game buttons, while a rolled piece of cardboard can act as a joystick.
Let children invent their own game name, characters, points system, and arcade logo.
For extra fun, create several mini arcade machines and arrange them together as a homemade arcade center.
Tips for Making Cardboard Crafts With Kids
Before starting any cardboard project, prepare the materials and choose a workspace that can easily be cleaned.
Younger children may need help with cutting thick cardboard, especially when using sharp scissors or craft knives. Adults should handle difficult cutting tasks.
Let children participate in painting, decorating, assembling, and designing their projects.
Try not to make everything perfectly for them. Part of the fun is allowing children to experiment, make mistakes, and develop their own ideas.
You can also save useful materials such as:
- Delivery boxes
- Cereal boxes
- Shoe boxes
- Paper towel tubes
- Bottle caps
- Egg cartons
- Small packaging boxes
Keep them in a craft box so you always have supplies ready for your next DIY project.
Final Thoughts
You do not need expensive craft supplies to create exciting activities for kids.
With a few cardboard boxes, some glue, paint, and imagination, ordinary packaging can become a rocket, dollhouse, vending machine, arcade game, kitchen, or marble run.
These DIY cardboard projects give children the opportunity to create something with their own hands while also providing toys they can enjoy afterward.
So before you throw away your next cardboard box, save it.
It might just become your child’s next favorite toy.


Reply