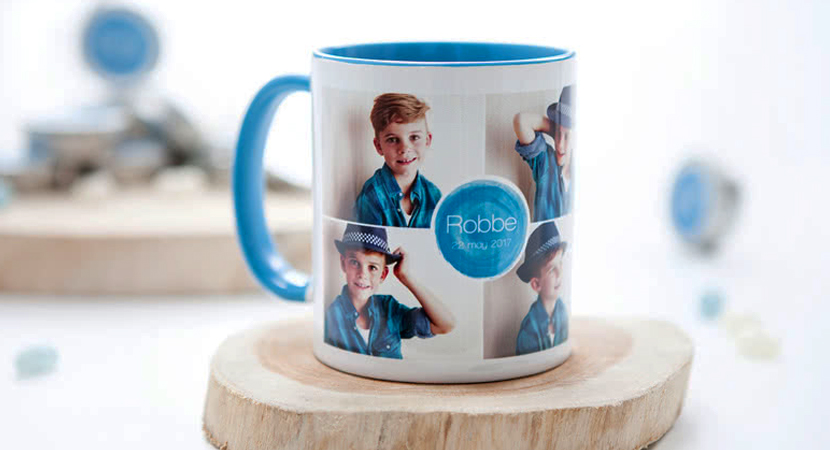
Creating your own photo mug is a great fun and interesting. You can make your own photo cup by using any old mug around your house. This is an easy project that gives a new and fresh look to the old mugs. No matter whether you want to use a family photo or a quotation, you can just print it with a high resolution and add it on your mug. If you are a fan of DIY projects then this is the most useful article for you.
Easy Steps to Create A Photo Mug:
However, there are many online services which offer you photo mug printing but doing it yourself will give you an amazing feeling and you will really enjoy creating your own picture cup. So, let’s start.
-
Select a Mug:
To create an amazing photo mug, first you need to select an old mug you would like to personalized. You can use any mug but you should consider the color and texture of the mug. I will suggest to use a mug with smooth surface and with solid color like black or white. Because, mugs with uneven surface are difficult to paste a photograph to.
You can check the different mug art examples here…
-
Choose a Photo:
After selecting a mug, you need to select a photo to paste on your mug. You can choose any one of your favorite photos. It depends on you whether you want to select your own picture or a photo of your friends and family member. Keep in mind that the photo should be of high resolution and should have sharp colors. Otherwise, it gets blur during printing process that will ruin your photo mug completely.
-
Edit the Photo Size for your Photo Mug:
Before applying the photo on the mug, you should check and edit its size according to the mug size. Make sure that the photo will fit in the area of the mug. If you are familiar with the photo editing tools like Photoshop and Paint then you can use these tools to resize your image. Taking a print preview before printing will help you out to get a perfect image size for your mug.
-
Use Transfer Paper to Print your Photo:
After resizing and editing your image, just load transfer paper to your printer for printing the image. Transfer paper is a special type of printing paper that allows to permanently stick the image on the mug surface. If you don’t have transfer paper you can easily purchase it online.
-
Use Acrylic Coating
for Outside Seal:
Some Transfer papers are already covered with the Acrylic coating but if your printing paper does not have an acrylic coating then you can use acrylic spray for an outside seal. This coating makes a protection shield over the printed images and makes your photo mug dishwasher safe. Make sure that your completely cover the printed image with this spray. Let the coating dry before use.
-
Cut the image and Dip it in Water:
Once the coating is dried, cut the image and soak it in water. Just trim away the rest of the printing paper. You need to soak this image in water for few minutes so that it prepares for pasting on to the mug.
-
Paste the Image on the Cup:
Once the image is soaked properly in water, it is ready to be pasted on the mug. Just take it out from the water, remove any backing paper and paste it on the mug. You can also adjust the image position before it dries. Give it plenty of time to dry.
-
Wash the Photo Mug:
After the image has dried completely, you will have to wash the mug before use. This will clean the mug from any residues of printing process. Once it is cleaned, you can start enjoying your newly designed photo mug.
Related Articles:


Reply